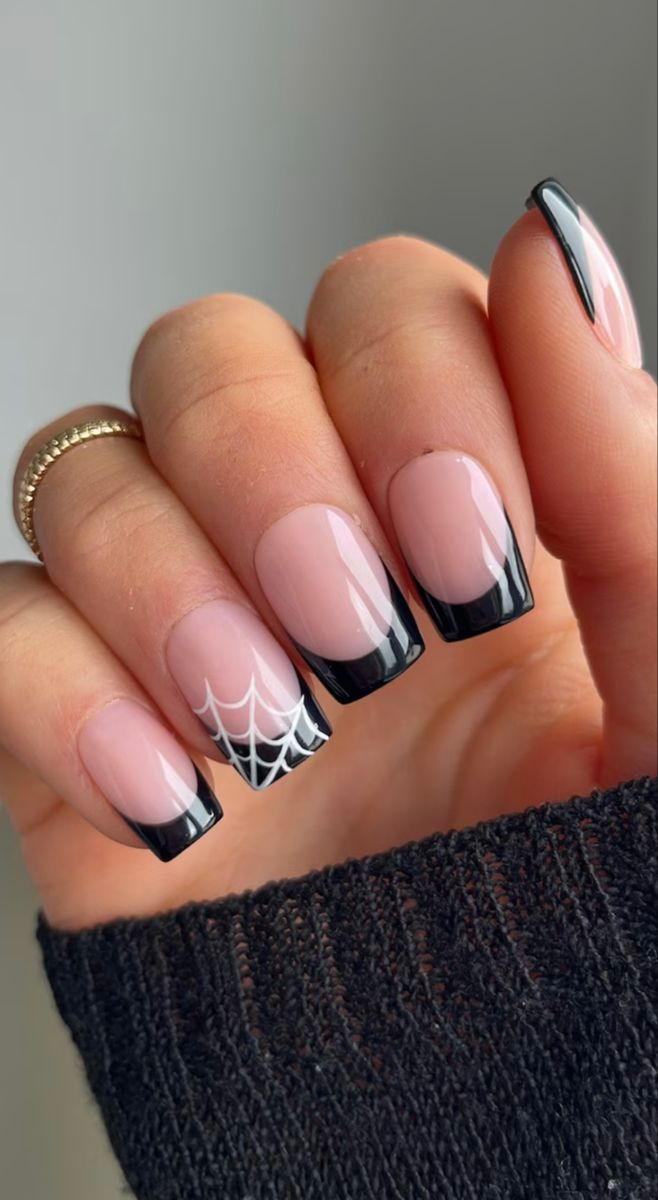
22 Halloween Nail Designs Worth Actually Trying This Year
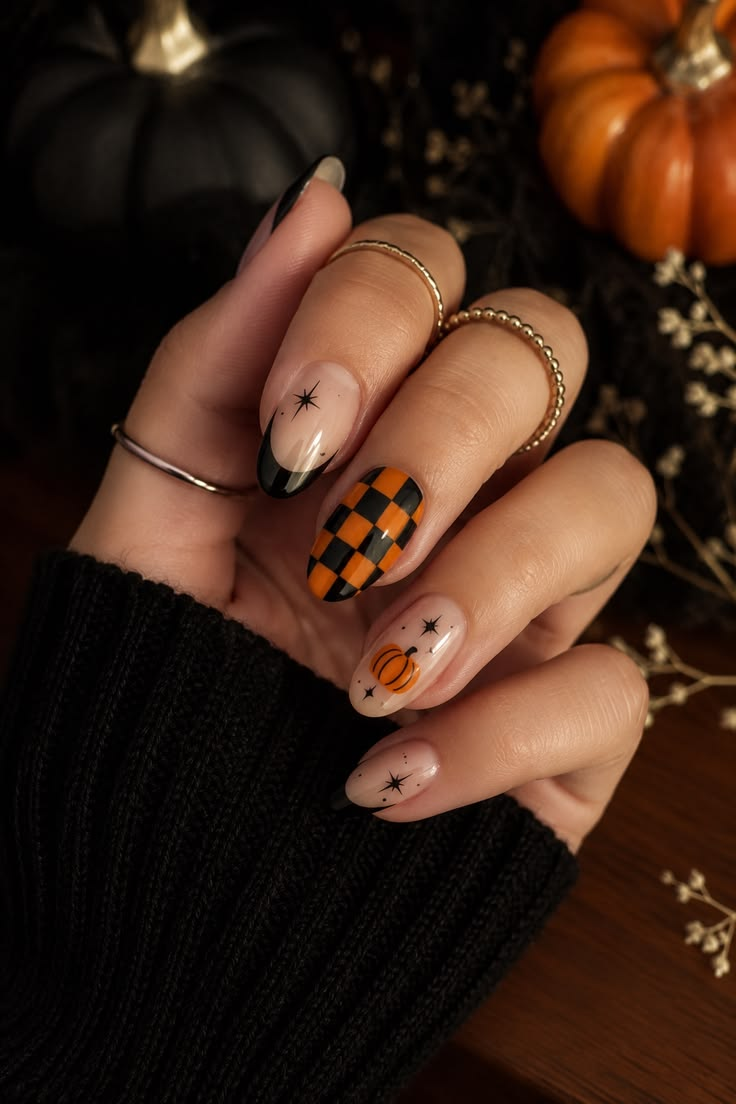
I used to think Halloween nails meant picking one black polish and calling it done, until a friend showed up to a pumpkin patch trip with a full hand-painted spiderweb set she’d done herself at her kitchen table with a $6 nail art kit.
That was the year I realized most of these designs are way more doable at home than they look in photos — you just need to know which techniques actually translate to a home setup and which ones genuinely need a salon appointment.
Halloween nail designs split pretty cleanly into two camps: things you can do yourself with basic tools in under an hour, and things that genuinely benefit from a salon visit because they involve gel extensions, 3D elements, or precision airbrushing you’re not going to replicate with a drugstore brush.
I tried to cover both here, since not everyone wants to (or can) book a salon appointment two weeks before Halloween, and not everyone wants to spend a Saturday afternoon painting their own nails either.
I’ve grouped these by whether they’re realistic as a DIY project or better left to a professional, so you can skip straight to the section that actually matches your plans this year.
Quick Comparison: Halloween Nail Designs by DIY vs. Salon
| Design Type | Best Done | Time Required | Approximate Cost |
|---|---|---|---|
| Simple accent/silhouette designs | DIY at home | 30-45 min | $5-15 (supplies) |
| Gradient and ombré looks | DIY at home | 30-50 min | $10-20 (supplies) |
| 3D or gel extension designs | Salon | 60-120 min | $50-90 |
| Detailed hand-painted scenes | Either (DIY takes practice) | 45-90 min | $10-20 DIY / $60-80 salon |
1. Classic Spiderweb Accent
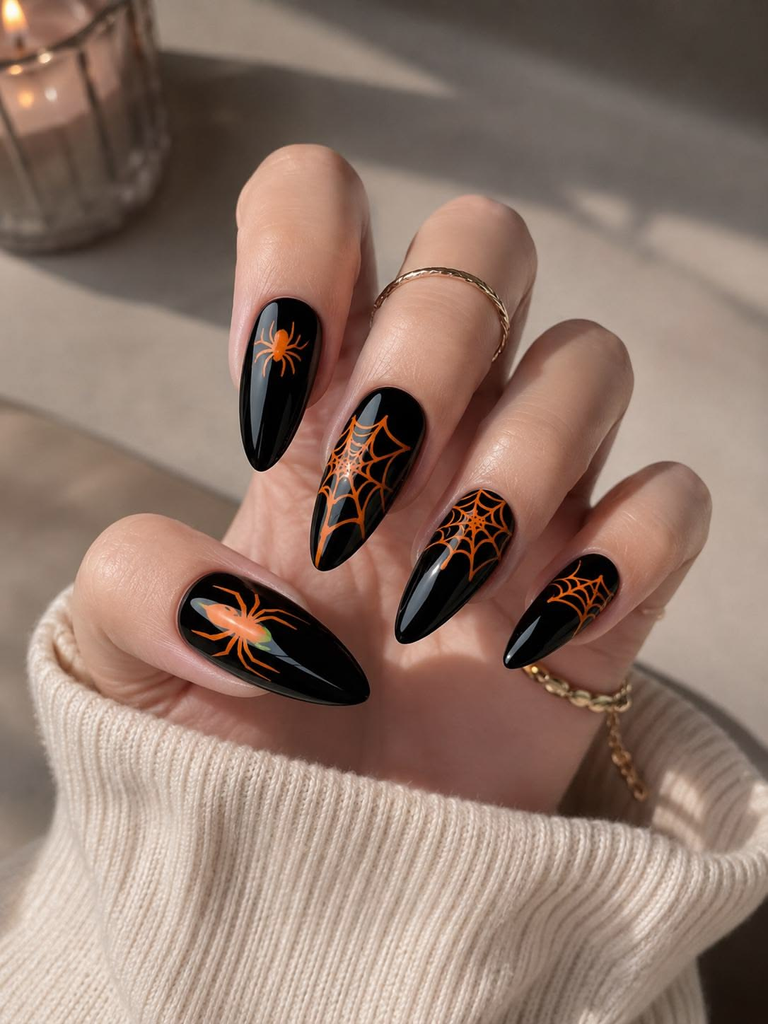
A black or white web painted over a contrasting base on one or two accent nails, using a striping brush or a thin dotting tool for the web lines.
This is the single most requested Halloween nail design every year, and it’s stayed popular because it’s genuinely one of the more forgiving patterns to freehand — a slightly imperfect web still reads clearly.
Pro tip: Draw the web from the center out in a spiral, then add straight connecting lines afterward — trying to do the whole thing in one continuous motion is where most people mess up the spacing.
2. French Tip with a Twist (Orange or Black Tips)
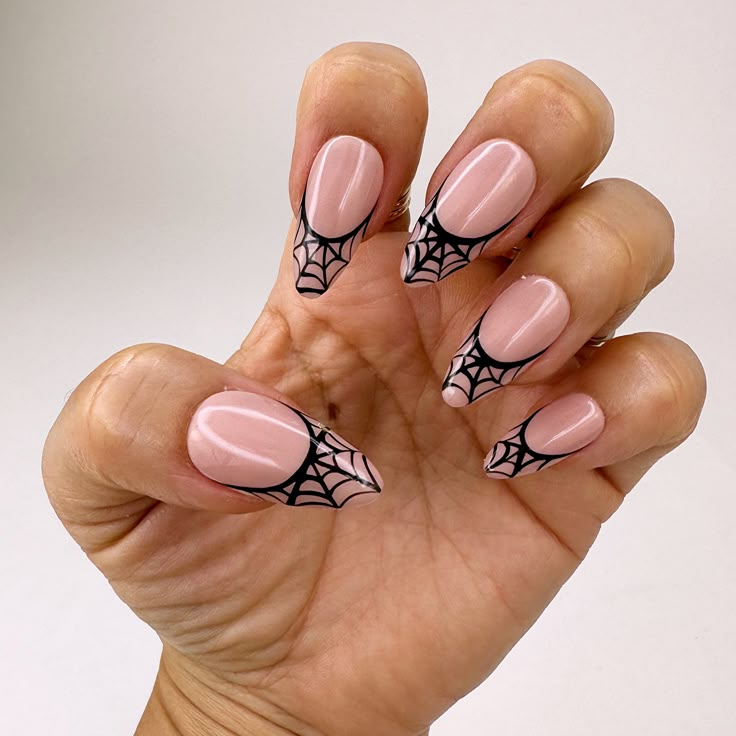
Instead of the standard white tip, paint the tips in black or deep orange over a nude or cream base. This is one of the easiest ways to make a manicure feel seasonal without committing to a full themed design, and it holds up well for anyone who wears their nails to work through October.
Pro tip: Use a French tip guide sticker (a couple dollars for a sheet) rather than trying to freehand the tip line — a crooked tip line is the single most common complaint with this style.
3. Marbled Black and Purple
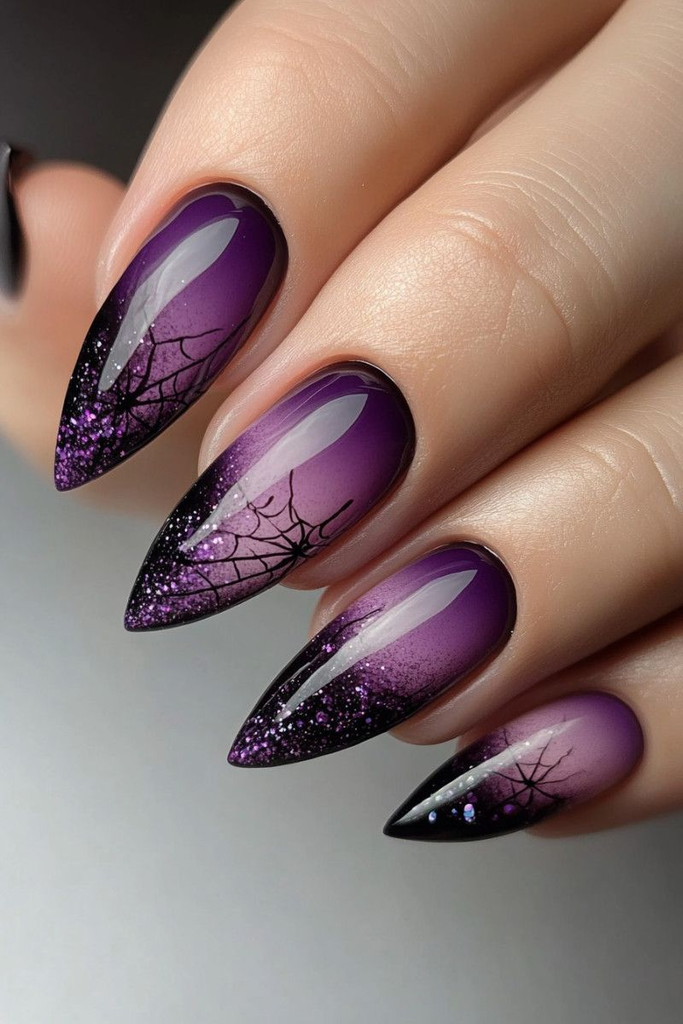
Two or three polish colors dragged together with a thin brush or toothpick while still wet, creating a swirled marble effect. This design looks far more advanced than it actually is to execute, and it’s forgiving of imperfection since marbling is supposed to look a little irregular.
Pro tip: Work over a bowl of water for a true water-marble technique, or skip the water method entirely and just swirl the colors directly on the nail while wet — the direct method is faster and less messy for a first attempt.
4. Gradient Sunset Pumpkin Patch
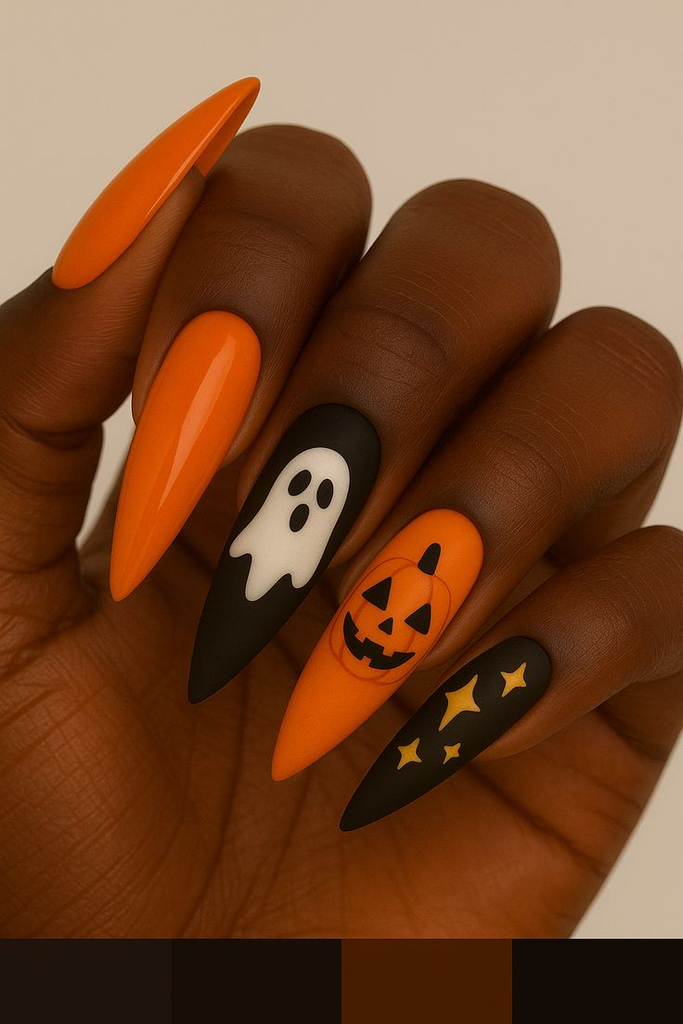
An ombré base fading from deep orange to a warm brown, with tiny black pumpkin silhouettes painted along the bottom edge of one or two nails. This combines a technique-based background with a simple illustrative detail, which makes it feel more finished without requiring advanced painting skill.
Pro tip: Use a makeup sponge to blend the ombré base before adding any silhouette details — trying to blend and paint details in the same step usually smudges both.
5. Glow-in-the-Dark Ghost Set
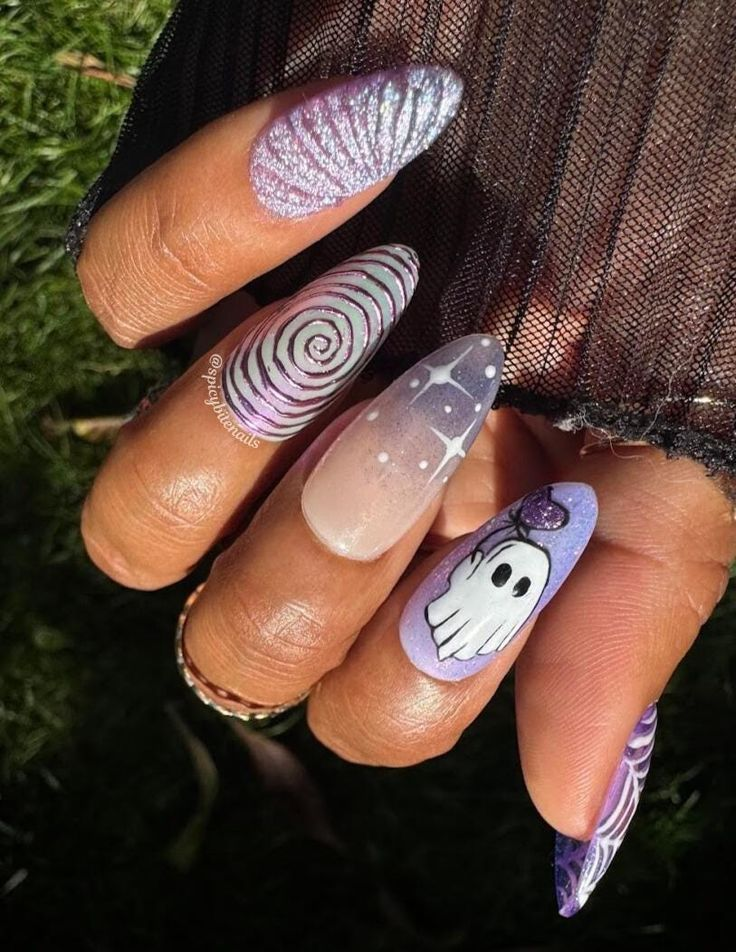
A soft gray or lavender base with white ghost silhouettes painted using a glow-in-the-dark top coat over the ghost shapes specifically. This is one of the more novelty-driven designs on this list, and it’s genuinely fun for a nighttime Halloween event since the ghosts actually become visible once the lights go down.
Pro tip: Charge the glow-in-the-dark polish under a bright lamp for a few minutes right before heading out — cloudy or overcast daylight isn’t enough to activate most glow polishes on its own.
6. Chrome Black with Cracked Foil
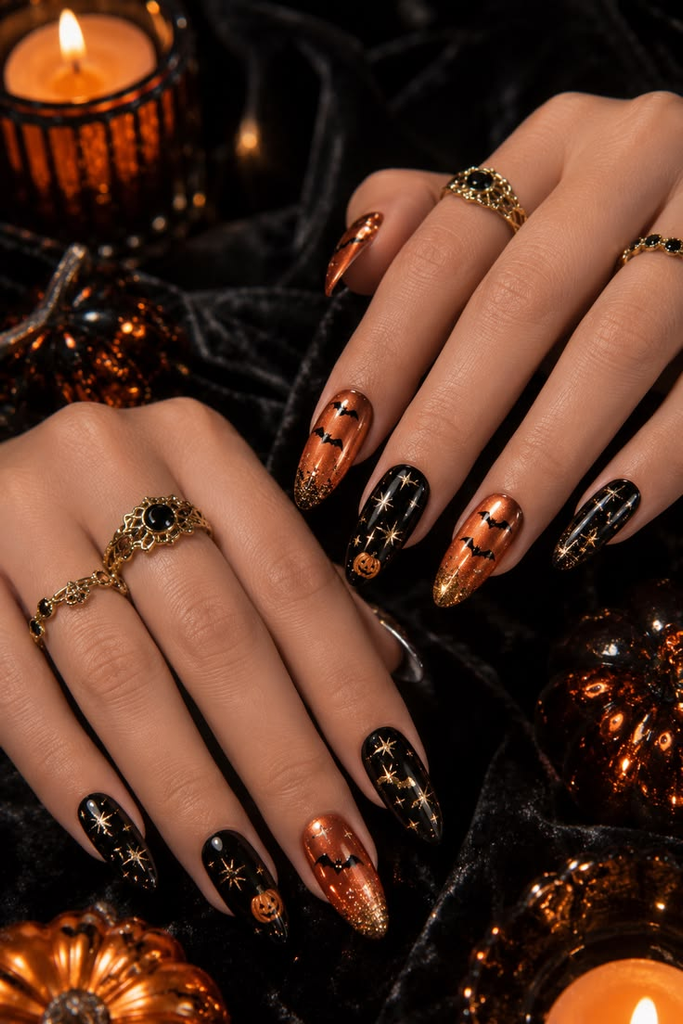
A high-shine chrome black base with small pieces of silver or holographic foil applied unevenly to mimic a cracked, shattered look. This is a striking, slightly edgier design that photographs beautifully under any kind of party lighting, and it’s a good pick if you want something dramatic without leaning into anything overtly “cute” or seasonal-specific.
Pro tip: Apply foil over a fully tacky (not wet, not dry) layer of foil glue specifically — regular topcoat doesn’t have the right texture to grip foil, and it’ll slide off within a day.
7. Candy Corn French Tips
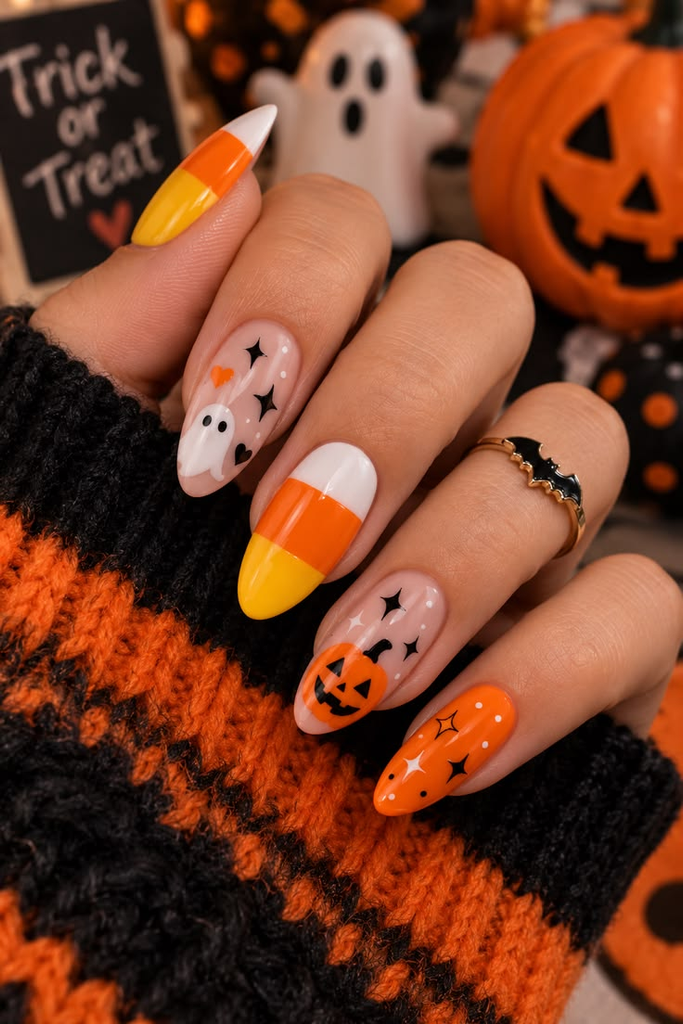
Instead of a solid tip color, layer three thin horizontal stripes — white at the very tip, orange in the middle, yellow near the base — to mimic the classic candy shape. This is a nostalgic, easy-to-recognize design that works well even if you’re not confident freehanding anything more complex.
Pro tip: Do the white tip section first, let it dry completely, then work backward toward the base with orange and yellow — starting from the tip prevents smudging sections you’ve already finished.
8. Negative Space Bat Silhouettes
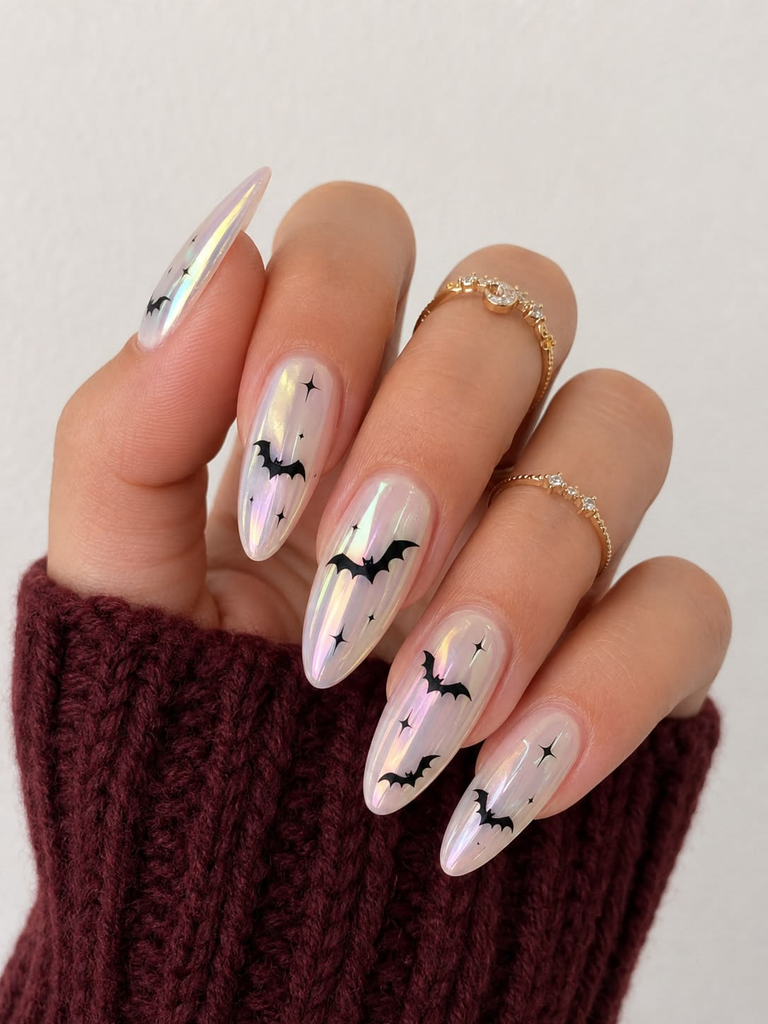
A clear or bare nail base with black bat shapes painted directly on, leaving the surrounding natural nail visible rather than covering the whole nail in polish. This design leans into a more modern, minimal aesthetic, and it’s a good option if you want something Halloween-themed that still looks wearable well past October.
Pro tip: Sketch the bat shape lightly with a toothpick before committing to polish — it’s far easier to adjust a scratch-guide than to fix a mistake once real polish is down.
9. Deep Red Vampy Nails with a Single Bite Mark Accent
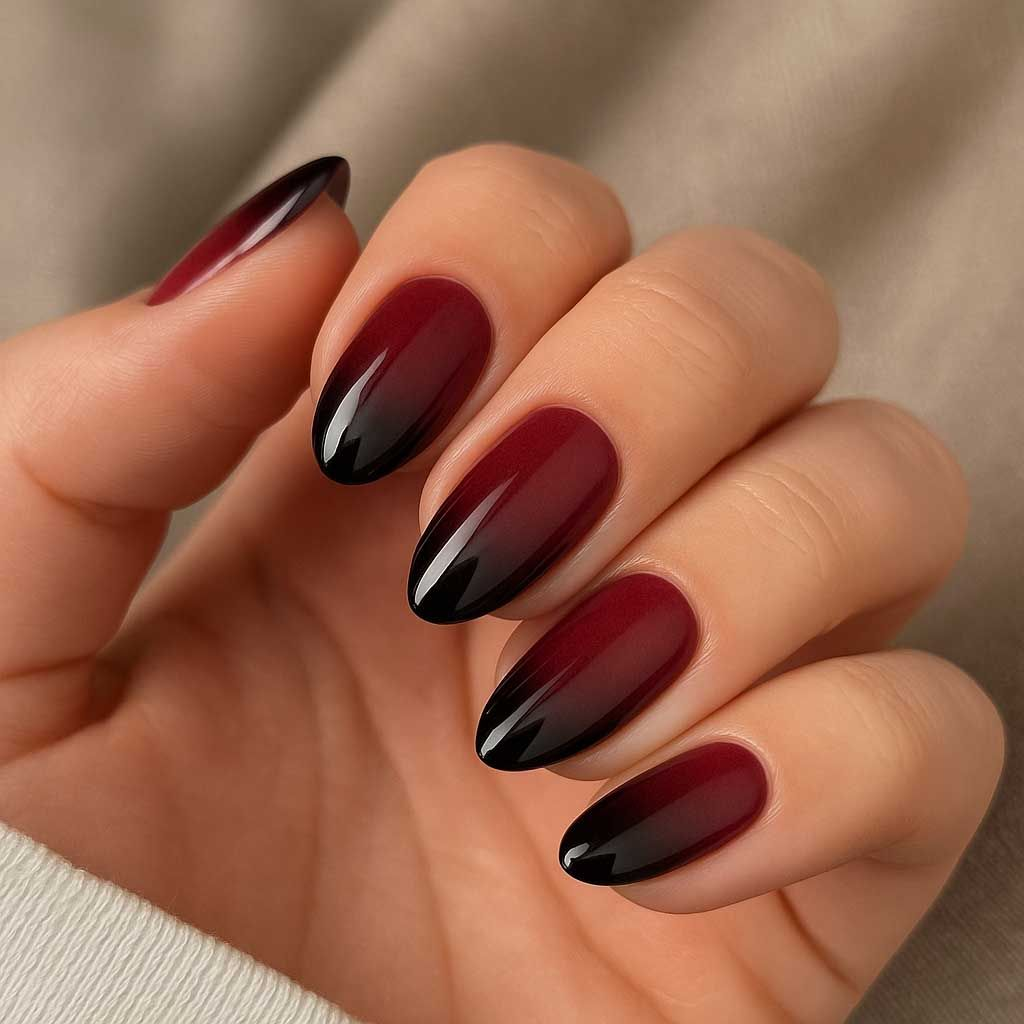
A rich, near-black red polish on every nail except one, which gets two small dot “bite marks” painted in a deeper red or black. This is one of the more subtle, sophisticated Halloween looks on this list — it reads as seasonal without being overtly costume-like, which makes it a strong choice if you want your nails to work for more than just one night.
Pro tip: Two thin coats of the vampy red dry more evenly than one thick coat, and thin coats are also far less prone to chipping within the first couple of days.
10. 3D Gel Spider (Salon Recommended)
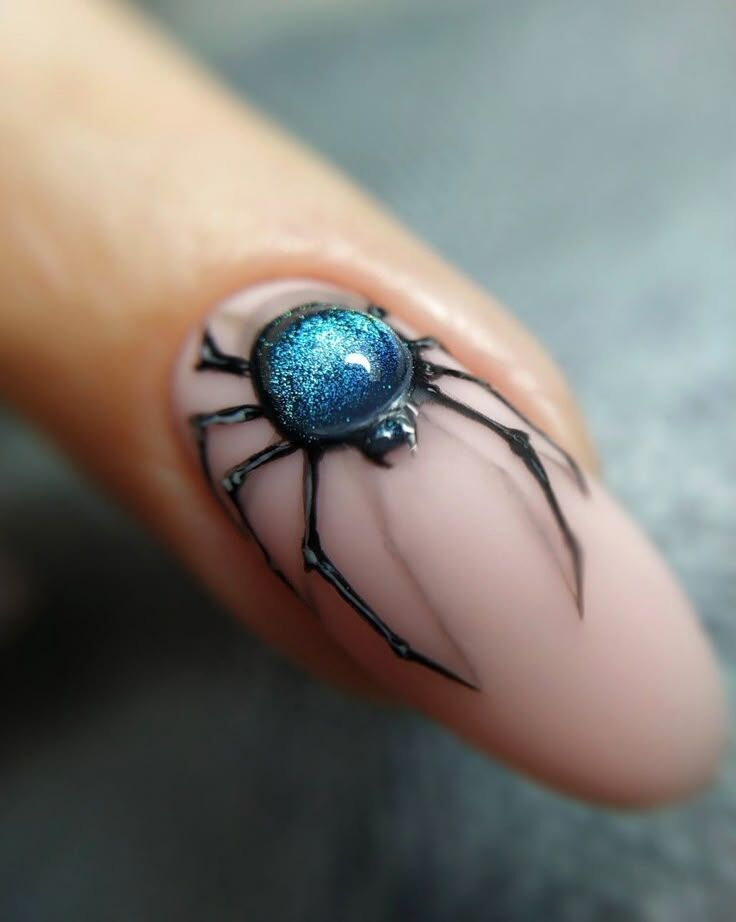
A raised, sculpted 3D spider built from gel or acrylic product on one accent nail, typically done with a specialized gel sculpting tool. This is one of the designs on this list I’d genuinely recommend leaving to a salon — the sculpting technique takes real practice, and a poorly executed 3D element tends to snag on things and pop off within a day if it’s not built correctly.
Pro tip: If you want the 3D effect without a salon visit, a small pre-made 3D nail charm (sold cheap in packs online) glued on with nail glue gets you a similar look without needing to sculpt anything yourself.
11. Witch’s Brew Green Ombré
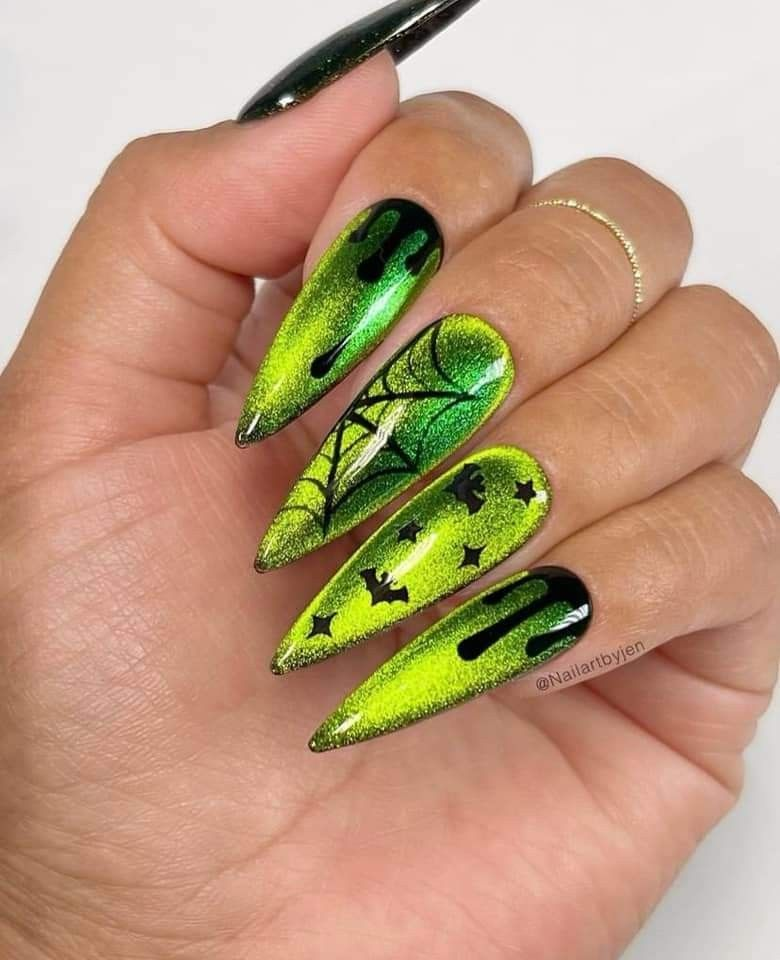
A gradient from a deep forest green to a bright acid green, finished with a glossy topcoat to mimic a bubbling potion. This is a technique-based design rather than a drawing-based one, which makes it a good option if you’re more comfortable blending polish shades than freehanding shapes.
Pro tip: A makeup sponge dabbed with two shades of green polish blends far more evenly on a small nail surface than trying to blend with a regular brush.
12. Skeleton Hand Accent Nail
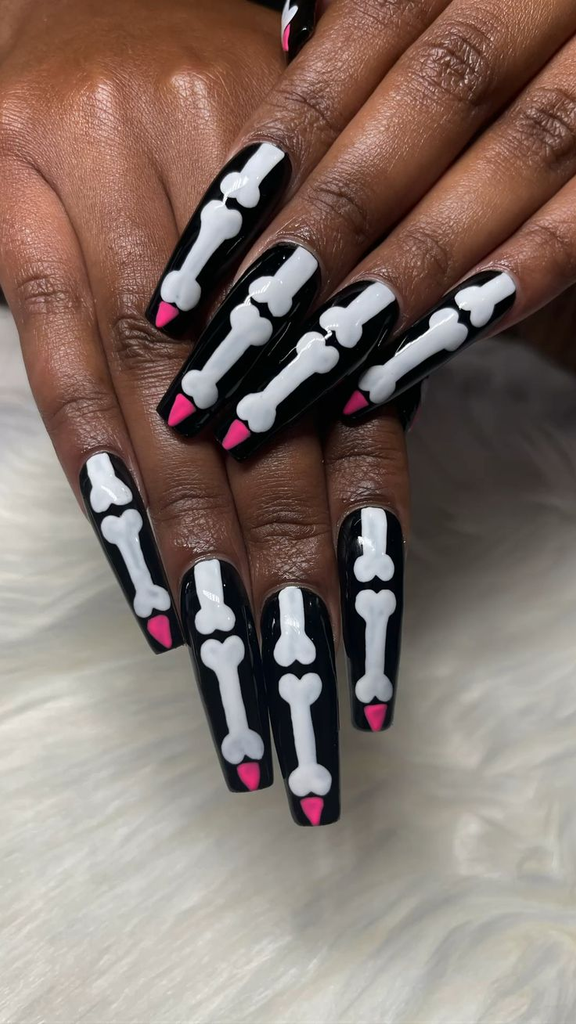
Small white bone shapes painted over a black base in a simplified skeleton hand pattern, kept to one accent nail rather than the full set. This is one of the more detailed designs on this list, so it’s worth practicing the bone shapes on paper before attempting them on an actual nail.
Pro tip: Use a dotting tool for the small knuckle joints instead of trying to paint them with a brush — dots are far more forgiving and consistent than freehand brush strokes at this scale.
13. Cat Eye Magnetic Polish (Green or Gold)
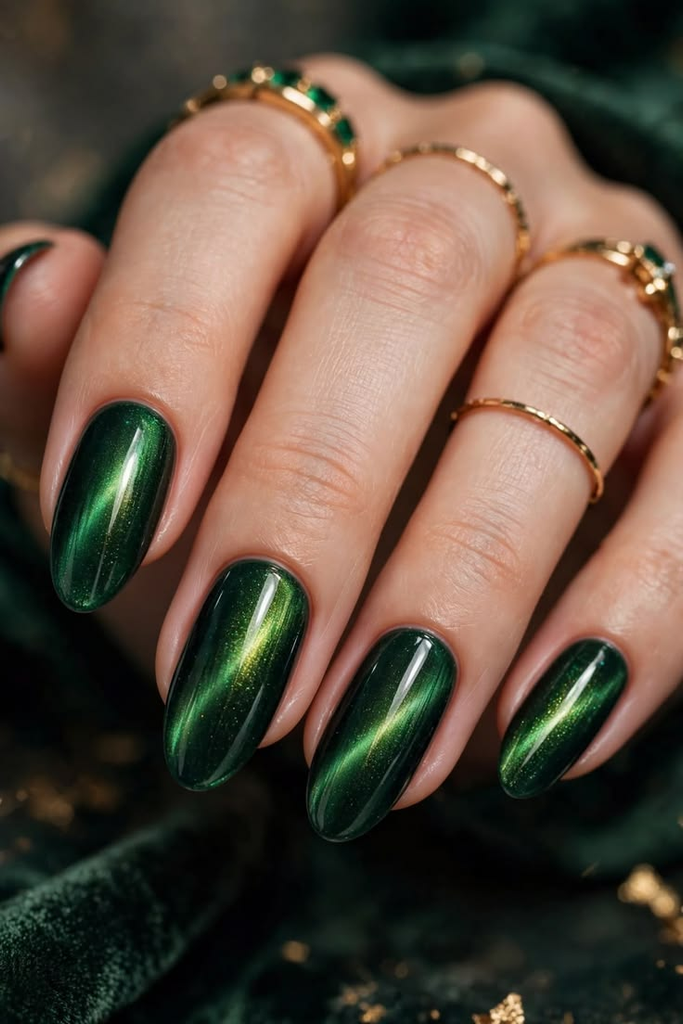
A magnetic, shimmer-based polish that creates a shifting “cat eye” line effect when a magnet is held over the wet polish before it dries. This is a technique-driven design that doesn’t require any painting skill at all — the magnet does the actual work, which makes it a genuinely good option for anyone who wants something eye-catching without much hand-eye coordination involved.
Pro tip: Hold the magnet slightly above the nail rather than touching it directly to the wet polish — direct contact tends to smudge the line instead of creating the sharp shifting effect you’re going for.
14. Purple and Black Ombré with Silver Glitter Tips
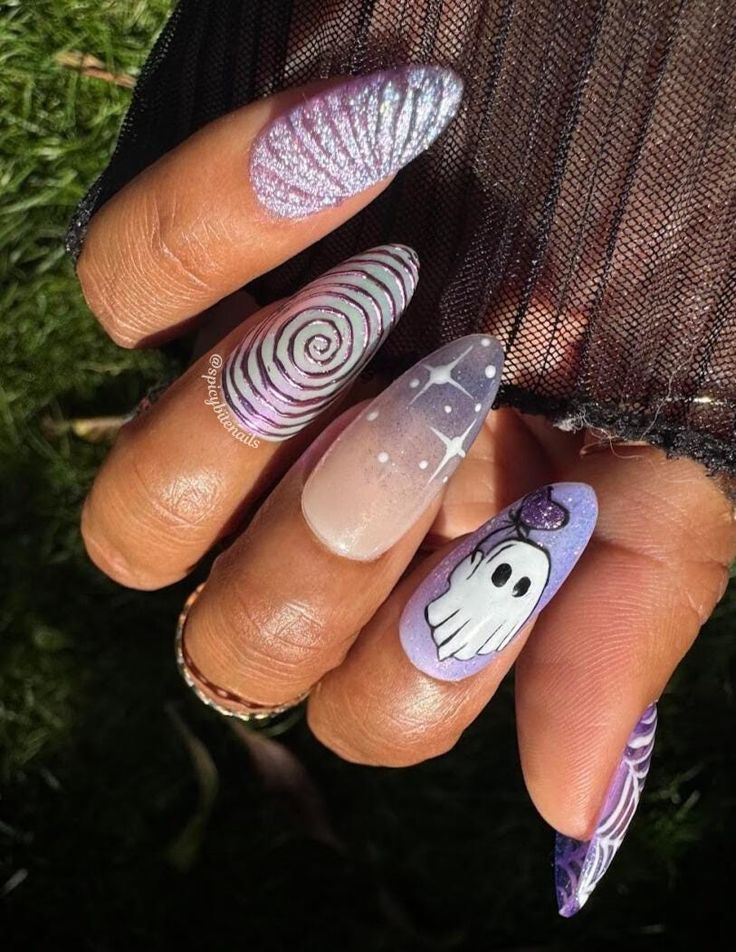
A gradient from deep purple to black, with a light dusting of fine silver glitter concentrated just at the very tips. This is a moody, elegant design that works well for both a costume-heavy party and a more understated fall event, since the glitter placement keeps it from reading as overly dramatic.
Pro tip: Dip a slightly damp brush into loose glitter rather than trying to apply glitter polish directly — a damp brush picks up and places glitter far more precisely than pouring polish straight from the bottle.
15. Full Hand-Painted Pumpkin Patch Scene
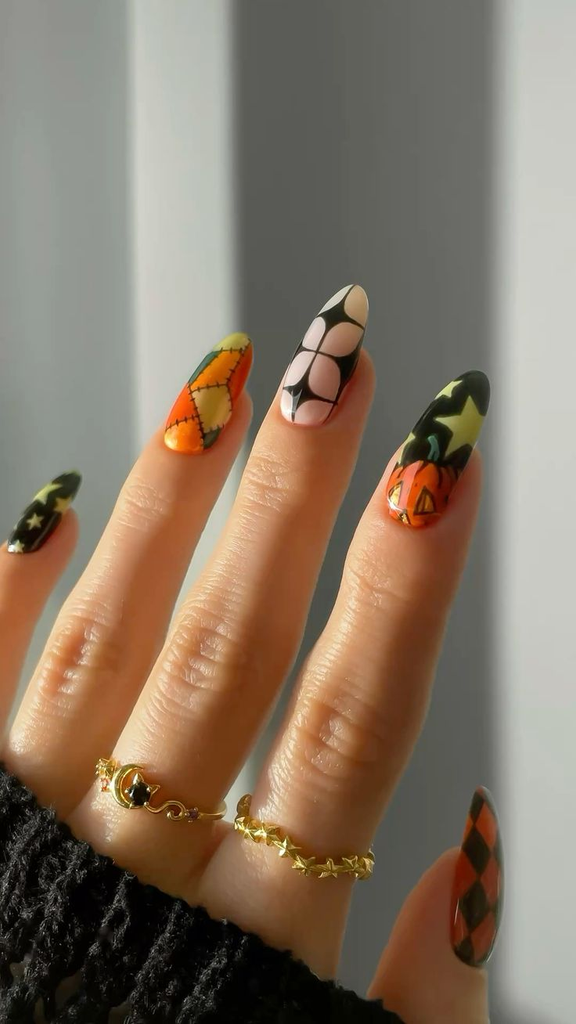
A detailed nighttime scene with multiple small pumpkins, a fence line, and a full moon painted across all ten nails as a connected picture. This is one of the most advanced designs on this list and genuinely does require some hand-painting practice, so it’s worth attempting on paper or a practice nail wheel before doing your actual set.
Pro tip: Paint the background elements (sky, moon, fence) first and let each layer dry completely before adding foreground details like the pumpkins — layering wet-on-wet at this level of detail almost always smudges.
16. Simple Orange and Black Checkerboard
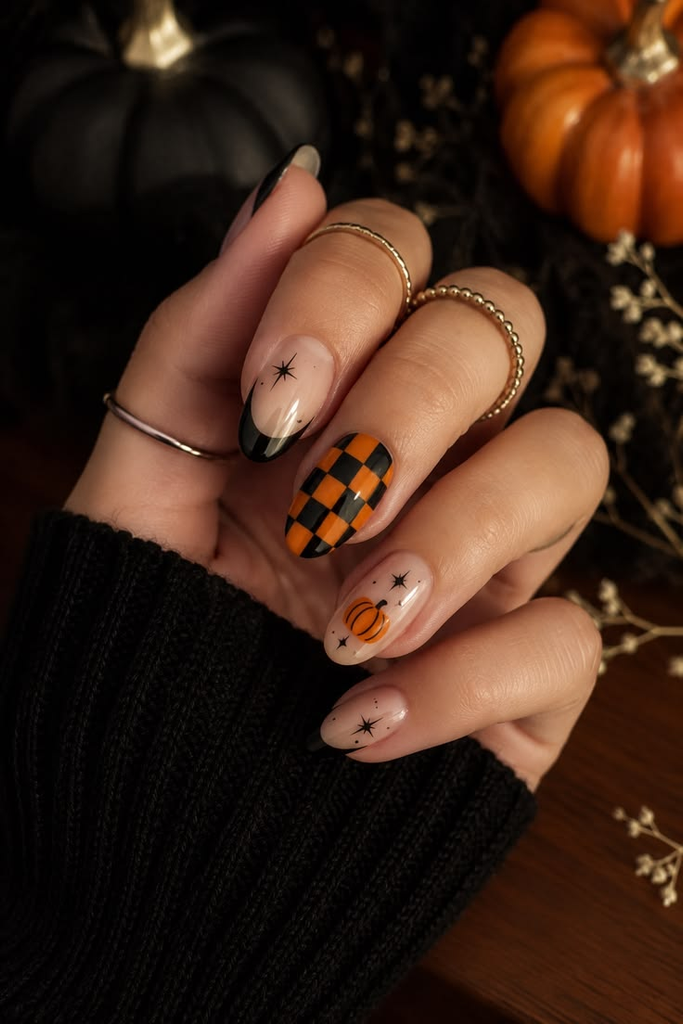
A grid of alternating orange and black squares painted across one or two accent nails using striping tape as a guide. This is a graphic, modern take on Halloween colors that doesn’t rely on any illustrative skill — it’s really just careful masking and painting within clean lines.
Pro tip: Use striping tape (not regular tape) for the grid lines — striping tape is thinner and more flexible, which makes it curve properly with the natural shape of the nail instead of lifting at the edges.
17. Encapsulated Glitter with Dried Flowers (Salon Recommended)
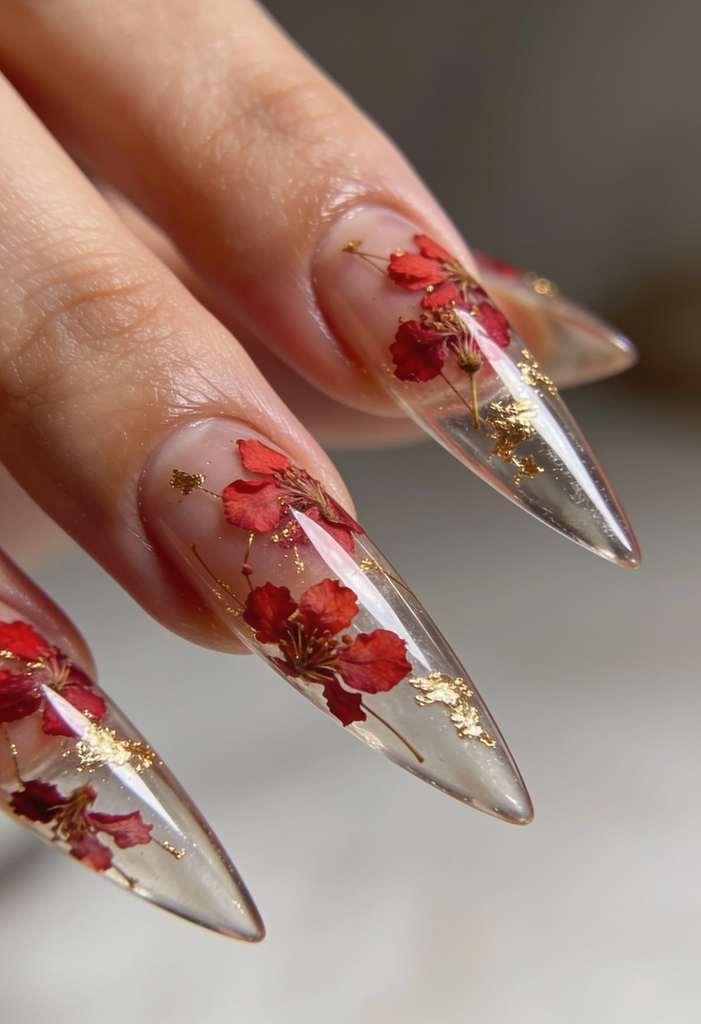
Small dried flowers or leaves sealed inside layers of clear gel, giving a preserved, almost amber-like effect. This is a design better suited to a salon visit since it requires gel building techniques and specific curing steps that are hard to replicate accurately with an at-home gel kit.
Pro tip: If you want a similar look at home, pressed-flower nail stickers (widely available online) sealed under a few coats of regular clear polish get you a comparable effect without needing gel or a UV lamp.
18. Deep Plum with Gold Foil Cracks
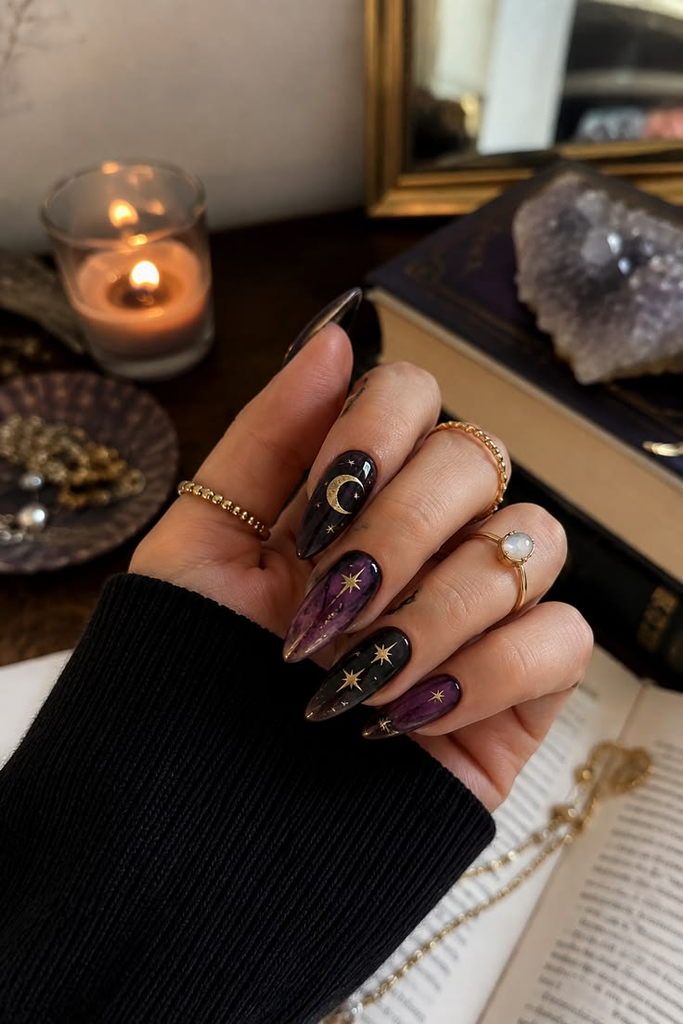
A rich plum or eggplant base with thin gold foil pieces applied in a cracked, fractured pattern across one or two nails. This is an elegant, slightly moody design that works especially well if you want something that reads as fall-appropriate rather than overtly Halloween-specific.
Pro tip: Tear the foil pieces by hand rather than cutting them with scissors — torn edges create a more natural, organic crack pattern than clean-cut foil shapes do.
19. Simple Black Cat Silhouette
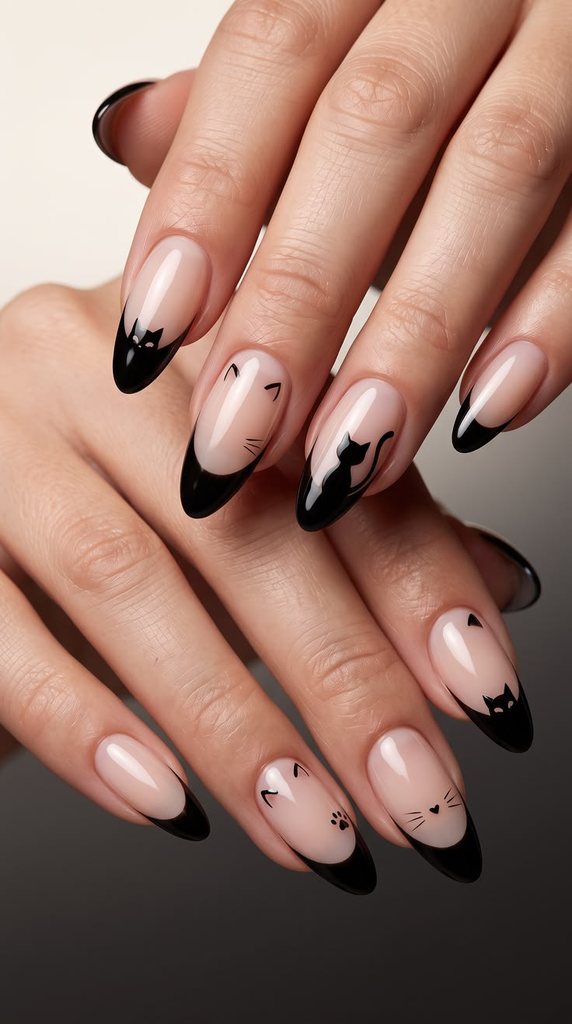
A solid base color with one small black cat silhouette (sitting or arched) painted on a single accent nail. This is one of the most beginner-friendly designs on this entire list, since you only need to get one small shape right rather than repeating anything across multiple nails.
Pro tip: Use a dotting tool to place two tiny eyes on the silhouette after it dries — doing the eyes last makes it far easier to keep them symmetrical and cleanly placed.
20. Ombré French with a Black Half-Moon Base
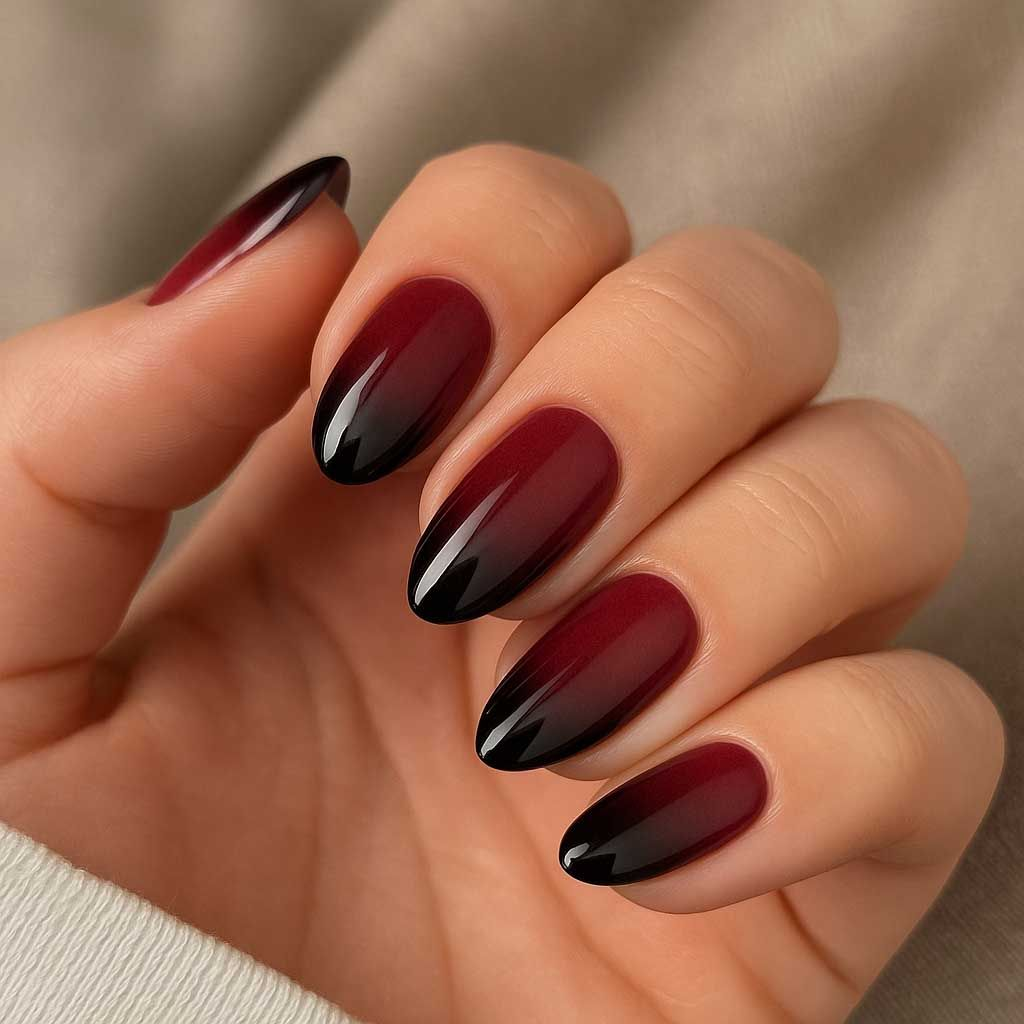
Instead of a standard tip, paint a black half-moon shape at the base of the nail (near the cuticle) with a soft orange-to-cream ombré across the rest of the nail. This is a design that flips the traditional French manicure placement, which makes it feel more distinctive without requiring any illustrative detail.
Pro tip: A small elastic hole-punch sticker, positioned near the cuticle instead of the tip, works as a clean guide for the half-moon shape just as well as it does for a traditional French tip.
21. Acrylic Coffin Nails with Airbrushed Blood Splatter (Salon Recommended)
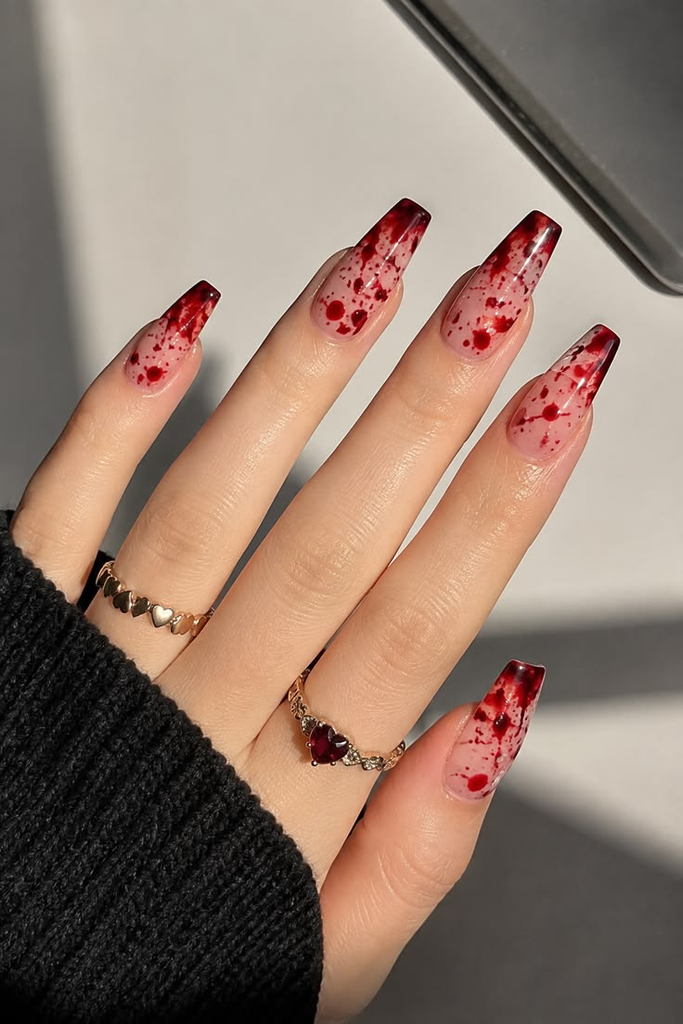
Extended coffin-shaped acrylic nails with an airbrushed red splatter effect, typically applied using a proper airbrush gun for a fine, controlled spray pattern. This is a technique that genuinely requires salon equipment to execute cleanly — hand-painted “splatter” attempts with a regular brush tend to look like large blobs rather than a fine mist.
Pro tip: If you want a DIY version of the splatter effect without an airbrush, flick a nearly-dry brush loaded with a small amount of red polish toward the nail from a short distance — it’s messier to control but gets a similar fine-splatter look in a pinch.
22. Minimalist Orange Dot French
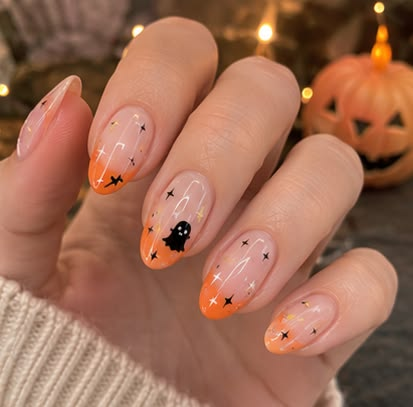
Instead of a solid line, a row of small orange dots placed along the tip line using a dotting tool, over a nude or cream base. This is one of the simplest seasonal designs on the list — it takes barely any freehand skill and still reads clearly as an intentional, Halloween-adjacent look.
Pro tip: Space the dots slightly unevenly rather than perfectly uniform — a completely even row of dots can look more like a printed pattern than an actual hand-applied design, and slight variation reads as more natural.
What I’d Actually Do
If I were doing my own nails this year, I’d go with the classic spiderweb accent or the simple black cat silhouette — both are genuinely doable in under an hour with tools I already own, and both photograph well without requiring more than a few minutes of actual freehand detail work.
The designs on this list that hold up best for a DIY attempt aren’t the most elaborate ones — they’re the ones where one clear, simple shape does the visual work on a single accent nail, with the rest of the set kept intentionally plain.
FAQs
Which of these designs are best left to a professional? The 3D gel spider, the encapsulated dried flower design, and the airbrushed splatter coffin nails all require specialized tools (gel sculpting kits, UV lamps, airbrush equipment) that are hard to replicate accurately at home.
What supplies do I actually need to attempt these at home? A thin nail art brush, a dotting tool, striping tape, and a basic set of polish colors cover almost every design on this list — most of these are available together in a drugstore nail art kit for under $15.
How long do most of these designs realistically take to complete at home? Most of the beginner-friendly designs (the black cat, the candy corn tips, the negative space bats) take 30-45 minutes total, including dry time between layers.
Will glow-in-the-dark polish work over any base color? It works best over a lighter or white base, since glow polish tends to get muted or absorbed visually when layered directly over black or very dark colors.
How do I keep foil or glitter accents from lifting within a day? Use a proper foil glue (not regular topcoat) for foil pieces, and seal glitter placements with an extra layer of clear topcoat specifically over the glittered area — both of these details matter more for longevity than the base polish itself.