
19 Woodworking Shop Layout Ideas

Ah, woodworking—the art of turning humble planks into masterpieces.
Whether you’re crafting heirloom furniture or dabbling in weekend DIYs, your shop layout can make or break your experience.
A well-designed workshop is like a symphony orchestra: each instrument (or tool) has its place, allowing you to create magic with ease.
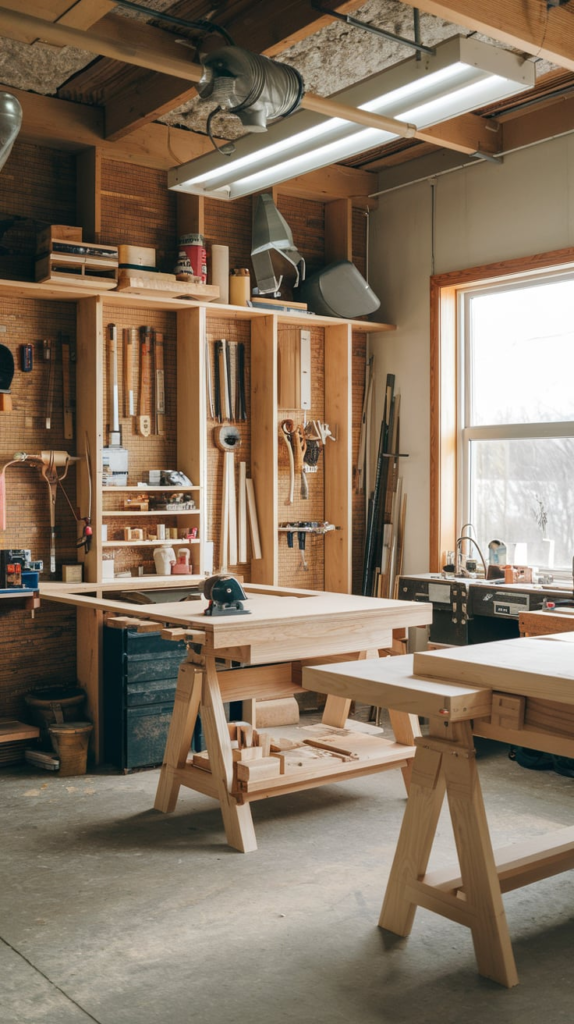
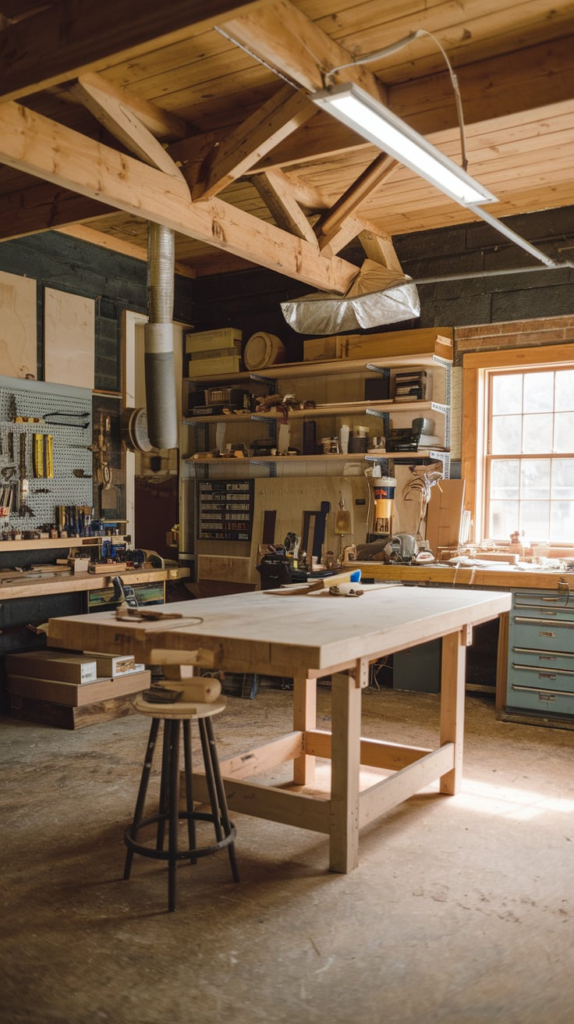
1. The Triangle Workflow

Imagine your workbench, table saw, and assembly area forming a perfect triangle. This layout minimizes walking and maximizes productivity. Think of it as the Holy Trinity of woodworking: preparation, cutting, and assembly all within arm’s reach.
Pro Tip:
Position the triangle near your lumber storage for easy access to materials. This layout is especially effective in mid-sized spaces.
2. Mobile Workstations
If your shop is on the smaller side, invest in tools on casters. With mobile workstations, you can rearrange your layout depending on the project. Plus, it’s like having a dance floor for your tools—everything moves fluidly.
Why It Works:
Flexibility is key in tight spaces. Roll your tools out when needed and tuck them away when not in use.
3. Zoned Layouts

Divide your shop into distinct zones: cutting, sanding, assembly, and finishing. This keeps tasks organized and reduces clutter. Think of it as assigning each tool its own cubicle—no overlap, no confusion.
Example:
Place your dust-producing tools like sanders and planers in one corner to centralize dust collection efforts.
4. Overhead Storage
When floor space is limited, look up! Install overhead storage for lumber, clamps, and other large items. It’s like having a secret attic for your shop essentials.
Safety Tip:
Ensure your overhead racks are sturdy and can handle the weight of your materials.
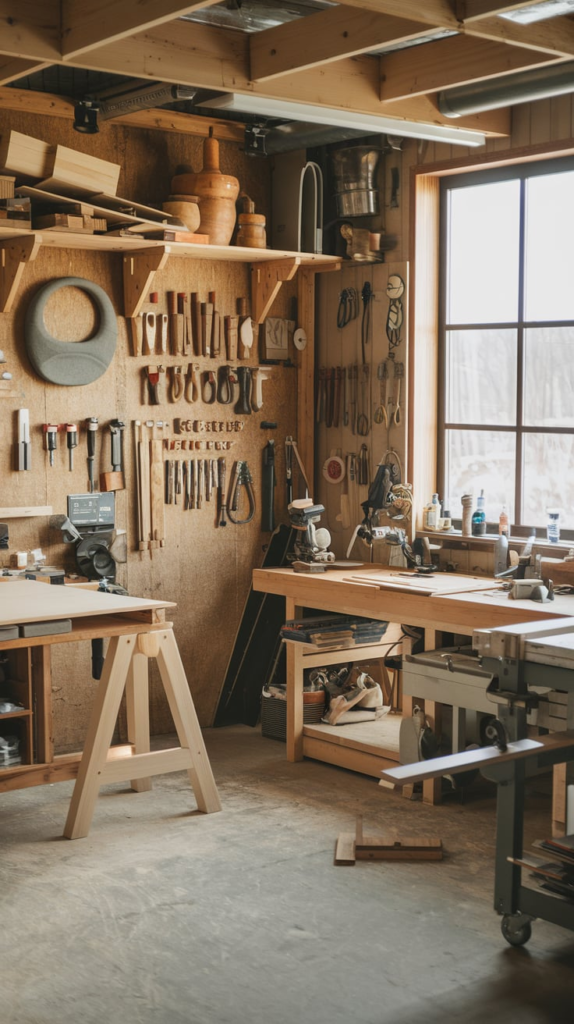
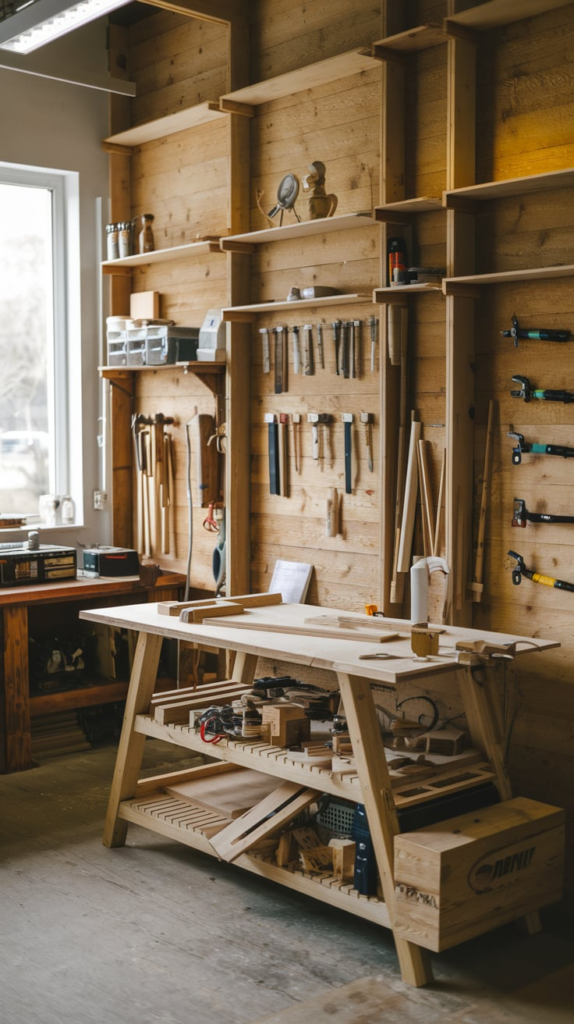
5. Wall-Mounted Tool Racks

Wall-mounted racks keep your tools visible and within reach. It’s a visual feast and a time-saver—no more rummaging through drawers.
Fun Fact:
A pegboard can be a game-changer. Customize the layout to fit your most-used tools and rearrange as needed.
6. Centralized Dust Collection System

Dust is the nemesis of woodworking. A centralized dust collection system keeps your shop clean and your lungs healthy.
Design Tip:
Position the dust collector in a way that it can reach all major tools with minimal ductwork.
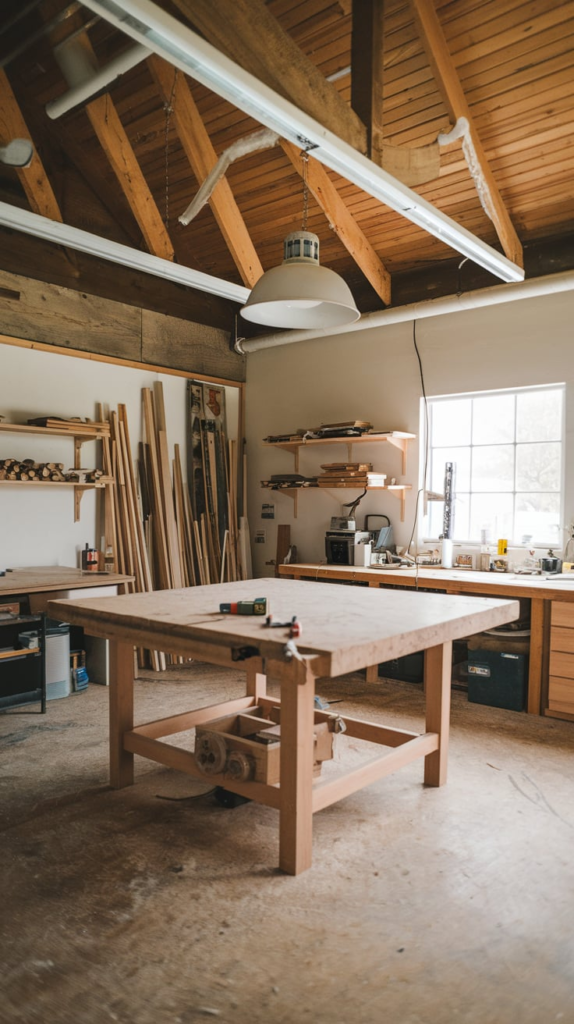
7. Natural and Artificial Lighting

Good lighting is as essential as sharp tools. Natural light reduces eye strain, while task lighting ensures precision.
Lighting Hacks:
- Use LED strips under cabinets.
- Position your workbench near windows.
- Add adjustable lamps for detailed work.
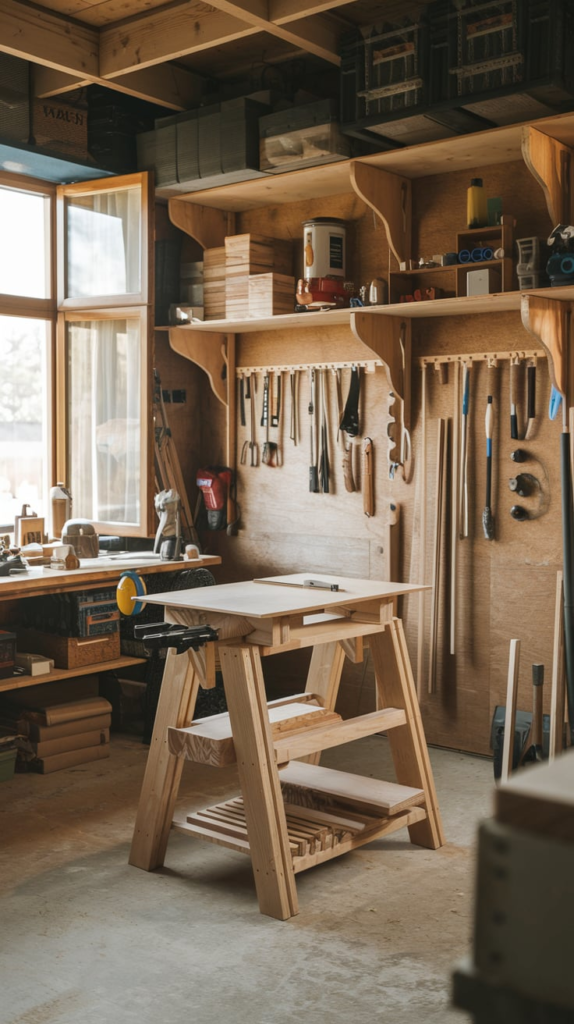
8. Compact Fold-Out Workbench
A fold-out workbench is perfect for small shops. When not in use, fold it away to free up space—like a Murphy bed for your woodworking dreams.
Ideal For:
Hobbyists working in garages or basements.
9. Dedicated Finishing Area
Keep a separate zone for finishing your projects. This prevents contamination from sawdust and ensures a professional look.
Pro Tip:
Invest in a portable spray booth if space allows.
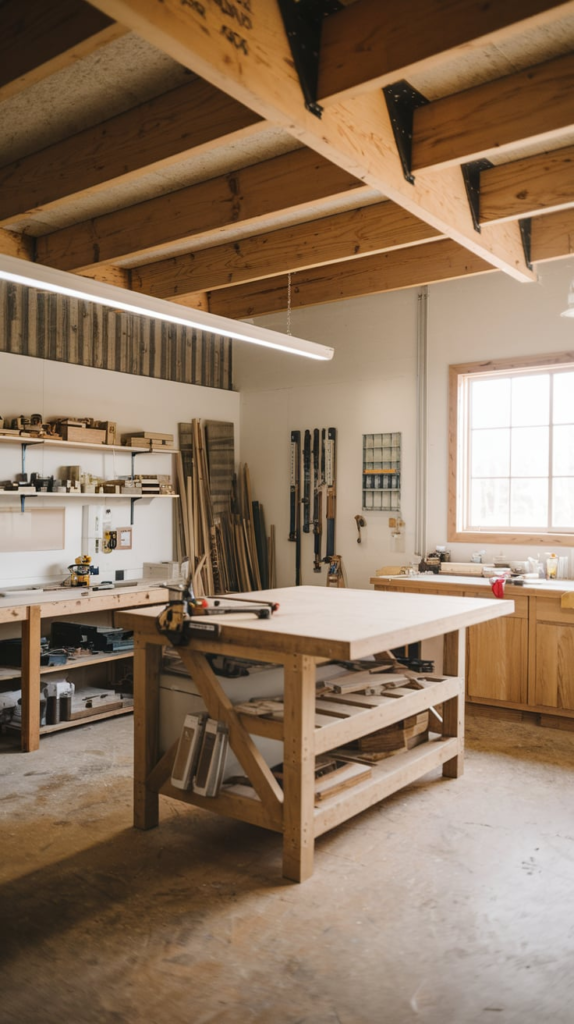
10. U-Shaped Layout

A U-shaped layout surrounds you with tools and work surfaces. Everything is within arm’s reach, making it feel like you’re in the cockpit of a woodworking spaceship.
Application:
This layout works best in larger shops where you can dedicate one wall to storage and the other two to tools and benches.
11. French Cleat Wall System
The French cleat system is a modular marvel. Attach cleats to the wall and hang tool holders, shelves, or cabinets. It’s customizable and endlessly adaptable.
Why It’s Great:
You can rearrange your tools as your needs evolve without drilling new holes.
12. Workbench with Built-In Storage

A workbench with drawers or shelves combines functionality and storage. It’s like having a Swiss Army knife for a bench.
Tip:
Use labeled bins to keep screws, nails, and other small items organized.
13. Vertical Lumber Rack

Save space and keep your materials organized with a vertical lumber rack. It’s an elegant solution for storing boards of varying lengths.
Bonus:
Place the rack near your cutting zone for added convenience.
14. Soundproofing

Power tools are noisy, and neighbors might not share your love for woodworking. Add soundproofing panels to walls and ceilings to keep the peace.
Quick Fix:
Rugs and foam mats can dampen noise while being easy on your feet.
15. Sliding Doors or Curtains

Separate zones with sliding doors or curtains. This keeps sawdust confined and adds a touch of elegance to your workspace.
16. Tool Chest on Wheels
A rolling tool chest keeps your essentials mobile. Think of it as your toolbox on steroids—everything you need, always within reach.
17. Air Filtration System

An air filtration system is your invisible ally. It circulates air and removes fine particles, making your shop safer and more pleasant.
Placement:
Hang the unit from the ceiling to save space.
18. Efficient Electrical Outlets

Strategically placed outlets prevent tangled cords and tripping hazards. Install outlets along walls and near the center of your workspace.
Tip:
Use retractable extension cords for added flexibility.
19. Personal Touches
Finally, make your shop your own! Add a chalkboard for notes, a coffee station for mid-project breaks, or a speaker system for your favorite tunes. It’s your creative sanctuary, after all.
Conclusion

Your woodworking shop should be more than a workspace; it should be a haven of creativity and efficiency. By incorporating these 19 layout ideas, you’ll not only optimize your workflow but also create an environment that inspires you to craft your best work.
So, which idea will you try first? Remember, even small changes can have a big impact. Now, go out there and saw, sand, and build to your heart’s content!