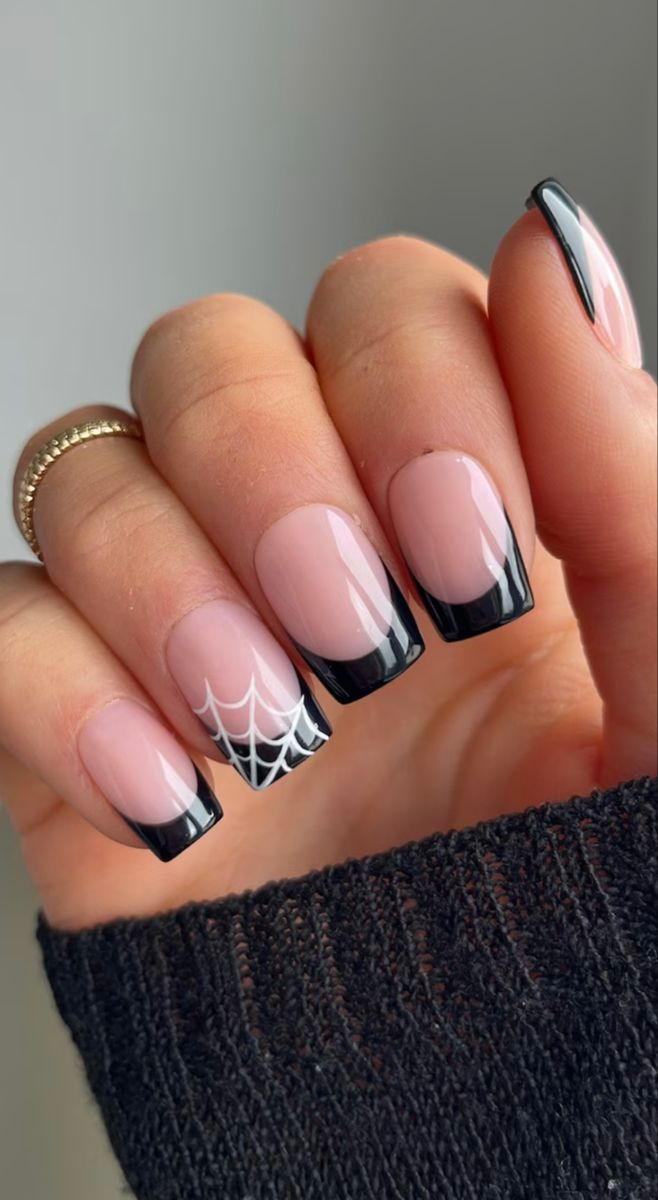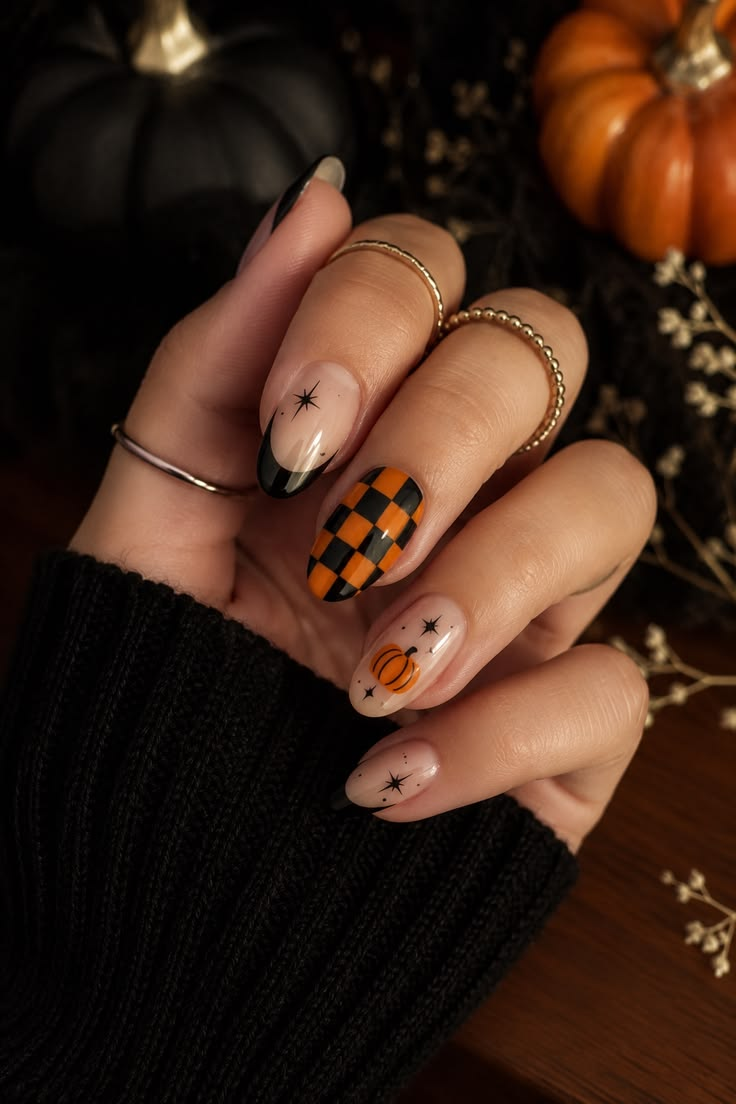
17 November Nail Designs That Actually Work When It’s Cold and You’re Broke From Halloween
I spent $78 on a Halloween manicure this year. Chrome spiderwebs, tiny ghosts, the whole thing.
By November 3rd I was so over looking at them that I started wearing gloves indoors just so I didn’t have to see my own hands.
That’s the thing nobody tells you about November nails. You’re caught between two moods. Halloween is over but you’re not quite ready for full Christmas red yet.
It’s too early for peppermint and too late for spiders. And if you’re anything like me, you’ve already blown your beauty budget on costumes and candy, so a $90 salon appointment isn’t happening.
So I’ve spent the last four Novembers figuring out what actually works during this weird in-between month.
Some of these are salon-worthy. Some are things I did at my kitchen table while a pot of chili simmered. A few are press-ons I’d genuinely recommend to a friend. Here’s everything I’ve learned, including the mistakes.
What Makes November Different for Nails
November is a transitional month, and your nails should reflect that. The colors that worked in October — bright pumpkin orange, glossy black, blood red — start to feel a little tired by the second week. But the full winter palette of deep greens and metallics feels premature until at least Thanksgiving.
The sweet spot is warm neutrals, muted jewel tones, and textures that feel cozy rather than festive. Think terracotta instead of tangerine. Think chocolate brown instead of black. Think chrome and velvet finishes instead of glitter.
There’s also a practical angle here. November means dry hands, more hand-washing, and indoor heating that wrecks your cuticles. Whatever design you choose, prep matters more this month than any other.
1. Chocolate Brown Micro French
Black French tips scream October. Chocolate brown whispers November. It’s the same clean silhouette you already know how to do, just in a warmer shade that pairs with everything from cream sweaters to olive jackets.
I switched to brown French tips on November 4th last year and kept them for three weeks. My friend Dana, who works in a conservative office, did the same thing and her boss actually complimented them. That’s the test.
Pro tip: Use a deep espresso brown, not a milk chocolate. The darker shade reads as intentional. The lighter one just looks like you ran out of black polish.
2. Terracotta and Cream Color Blocking
This is the design I’d put on the cover of a November mood board. A terracotta base with a clean cream stripe down one side of each nail. It’s simple, graphic, and somehow reads as both autumnal and modern.
You can do this with striping tape, which costs about $5 for a roll and will last you years. I bought mine in 2022 and I’m still using it. The tape gives you a perfectly straight edge every time, which matters because freehand stripes look messy at short lengths.
Pro tip: Apply the tape to completely dry polish, then peel it off while the top stripe is still slightly wet. This prevents the edges from lifting. I learned this after ruining an entire manicure by pulling the tape off too late.
3. Matte Olive Green
Olive green is the most underrated November nail color, and I will die on this hill. It’s earthy, it’s sophisticated, and it looks expensive in a way that bright green never does.
Matte finish is the key here. Glossy olive green reads a little retro in a way that doesn’t work on everyone. Matte olive green looks like a piece of pottery you’d pay $60 for at a craft fair.
I wore matte olive for Thanksgiving two years ago and my aunt — who has never once commented on my nails — asked where I got them done. That’s my benchmark for a successful manicure.
Pro tip: Matte top coat dulls over time, especially if you’re constantly washing your hands. Reapply a fresh matte top coat on day four or five to bring it back to life. I use Essie Matte About You and it takes about three minutes.
4. Warm Nude with a Single Gold Flake
This is the design for people who want something subtle but not boring. A warm nude or caramel base with one or two small gold foil flakes pressed onto an accent nail. It’s festive without being holiday-specific.
Gold foil flakes are easier to work with than they look. You press them onto wet top coat with a silicone tool or even a toothpick, then seal with another layer of top coat. The whole thing takes about four minutes per nail.
Pro tip: Don’t overdo the gold. One or two flakes per nail, maximum. I made the mistake of covering an entire nail in gold flake once and it looked like I’d been handling confetti at a wedding.
5. Deep Plum Glossy Finish
Plum is the color I reach for when I want something moody but not black. It’s dark enough to feel November-appropriate, but the purple undertone keeps it from reading as funeral-adjacent.
Glossy is the way to go here. Plum with a matte finish can look flat and a little sad. Plum with a high-shine top coat looks like a glass of wine in nail form.
The shade I keep coming back to is OPI’s “Lincoln Park After Dark,” which is technically a very dark purple but reads as plum in most lighting. It’s been in my rotation since college and I’ve never found a better alternative.
Pro tip: Dark plum shows every ridge and imperfection on your nails. Use a ridge-filling base coat. The difference is honestly shocking.
6. Cream Base with Tiny Copper Dots
This is the design I’d recommend if you’re doing your own nails at home and want something that looks harder than it is. A soft cream base with small copper dots scattered near the cuticle line.
It’s basically dotting. If you can make a dot, you can do this design. And the copper catches light in a way that feels seasonal without being obvious.
Pro tip: Use a dotting tool, not a toothpick. Toothpicks make irregular dots that look accidental. A dotting tool makes perfect circles. I bought a set of five for $7 and they’ve paid for themselves many times over.
7. “Cinnamon Swirl” Nails
Cinnamon swirl nails — a diagonal sweep of warm brown over a cream base — have been all over Pinterest this year, and I understand why. It’s a marble effect that requires almost no skill but looks like you spent an hour on it.
The technique is simple: paint a cream base, add a stripe of brown polish diagonally across the nail, then use a thin brush or toothpick to drag the brown into the cream in a swirling motion. Work quickly, while the polish is still wet.
Pro tip: Do one nail at a time. If you try to do all five at once, the polish will dry before you can swirl it and you’ll end up with muddy smears. I learned this on a humid day in 2023 and my nails looked like a crime scene.
8. Vanilla Chrome
Chrome finish but in a soft vanilla or champagne tone. It’s the November version of the chrome trend that dominated this year. Less space-age, more cozy.
Chrome powder works best over gel, but you can do it over regular polish if you seal it properly. I’ve done both. The gel version lasts about two weeks. The regular polish version lasts about four days. If you’re committing to chrome, commit to gel.
Pro tip: Chrome powder shows every lump and bump on your nail surface. Buff your nails smooth before you start. The extra two minutes of prep makes a huge difference.
9. Simple Leopard Print on Two Accent Nails
Leopard print is a classic, but November is the perfect time to wear it in a warmer palette. Instead of black and white, try chocolate brown spots on a caramel base with just a tiny bit of black for definition.
Two accent nails is the sweet spot. All leopard looks like a costume. Two nails looks like a choice.
The easiest way to do leopard at home is with a dotting tool. Make an irregular C-shape in brown, fill it with a smaller black dot, and add a tiny space of the base color on one side. It’s forgiving because leopard is supposed to look imperfect.
Pro tip: Use a matte top coat over leopard print. It looks more sophisticated and less like a 2008 purse.
10. Velvet Finish in Cranberry
Velvet nails are having a moment right now. If you’re not familiar, it’s a magnetic polish effect that creates a soft, dimensional glow that shifts in the light. It looks like crushed velvet fabric on your nails.
Cranberry is my favorite shade for November because it bridges the gap between fall and holiday. It’s festive but not Christmas-red. And it’s one of the few finishes that genuinely looks better than it photographs, which is rare.
Pro tip: Velvet nails require a magnet tool, which usually comes with the polish. Hold the magnet over the nail for 15–20 seconds while the polish is still wet, then cure or let it dry without moving your hand. The effect is subtle at first but intensifies as it dries.
11. Mushroom Taupe with a Thin Gold Line
Mushroom taupe is the color of November. It’s grey-brown, it’s neutral, and it pairs with everything. Add a single thin gold line down the center of each nail and you’ve got a design that looks intentional but not fussy.
This is a great option for anyone who works in a professional setting or has an event like a work dinner or a family gathering. It’s subtle enough to wear anywhere.
Pro tip: Use a striping brush, not a liner brush, for a gold line. Striping brushes are narrower and easier to control.
12. “Barely There” Sheer Pink with Glossy Top Coat
Sometimes the best November nail is the one that lets your natural nail breathe. A sheer pink or nude that enhances your natural nail color without covering it. Add a high-shine top coat and you’re done.
This is the design I wear when I’ve been doing too much and my nails need a break. It’s not lazy. It’s maintenance.
Pro tip: If you have any staining on your nails from dark polish, use a nail whitening treatment before you go sheer. Otherwise, the stains show through. I use a baking soda and lemon juice paste once a week during November.
13. Half-Moon in Burgundy and Nude
The half-moon design has been around forever, but November is the perfect time to wear it because it works in almost any color combination. My favorite is a burgundy half-moon over a warm nude base.
The technique is simple. Paint your nude base, let it dry, then use a small brush to paint a semicircle at the base of each nail in burgundy. Use a small round object — like the back of a bobby pin — as a guide if you need to.
Pro tip: The half-moon should be about a third of the nail bed. Bigger and it looks like a mistake. Smaller and it disappears.
14. Forest Green with Micro Glitter
Forest green is the color most people associate with December, but I think it’s fair game starting mid-November. The trick is pairing it with a micro glitter rather than a chunky glitter. The result reads as cozy rather than festive.
I wore this design the week before Thanksgiving last year and got more compliments than I did on my actual Thanksgiving nails. It’s the perfect “I’m ready for the holidays but I’m not decorating yet” color.
Pro tip: Micro glitter is much easier to remove than chunky glitter. Use a peel-off base coat if you want to change your design in a few days. The removal process takes about five minutes instead of thirty.
15. Textured Sweater Nails
Textured nails are having a moment and sweater nails are the November version. They mimic the texture of a knit sweater using a sculpting gel or a textured top coat.
I’ll be honest with you — this design is harder to do at home than the others on this list. If you want sweater nails, I’d recommend going to a salon or using a press-on set. The at-home versions I’ve tried have mostly looked like I dipped my nails in sand.
Pro tip: If you’re doing sweater nails at home, use a matte top coat over a textured base. The matte finish is what makes it read as fabric rather than a mistake.
16. “Autumn Ombré” in Warm Neutrals
An ombré in warm neutrals — cream fading into caramel fading into chocolate — is the November version of the classic ombré. It’s cozy, it’s elegant, and it works at any nail length.
The easiest way to do an ombré at home is with a makeup sponge. Paint the colors in stripes on the sponge, then dab the sponge onto your nail. The sponge blends the colors naturally. I’ve been doing this since 2021 and it works almost every time.
Pro tip: Do the ombré on a piece of paper first to figure out the color ratio before you commit to your nails. I still do this every time and it saves me from wasting polish.
17. Classic Red — But in a Warm Brick Tone
You can wear red in November. You just need the right red. Skip the fire-engine red and go for a brick or rust tone. It’s warmer, it’s more sophisticated, and it works for both Thanksgiving and early December.
I wear brick red on my nails more than any other color in November. It’s the design I reach for when I don’t know what to do but I want to look like I did.
Pro tip: Warm brick red flatters almost every skin tone. If you’re not sure whether a red is warm or cool, look at the base. If it has orange or brown undertones, it’s warm. If it has blue or purple undertones, it’s cool.
How Much Does This Cost?
| Approach | Cost Range | Time | Longevity |
|---|---|---|---|
| Salon gel manicure | $60–$90 | 60–75 min | 2–3 weeks |
| Salon regular polish | $35–$55 | 45–60 min | 5–7 days |
| Press-on nails | $12–$25 | 15–20 min | 7–14 days |
| At-home gel polish kit | $40–$80 initial | 30–40 min | 10–14 days |
| At-home regular polish | $15–$30 | 25–35 min | 4–6 days |
| Nail stickers/decals | $5–$12 | 10–15 min | 3–5 days |
The at-home gel kit is the best value if you’re doing your nails regularly. I bought mine in 2022 for $65 and I’ve saved at least $600 on salon visits since then. The learning curve is real, but once you get it, you get it.
What I’d Do If I Were Starting November Over
If I were doing my November nails from scratch right now, I’d buy a warm nude polish, a chocolate brown polish, a brick red polish, a matte top coat, and a roll of striping tape. That’s about $35 total and it covers most of the designs on this list.
Then I’d start with the brown micro French. It’s the easiest design to nail and it works for literally anything you have planned this month. After that, I’d try the terracotta and cream color blocking, since it’s a little more of a statement but still very wearable.
And I’d skip the textured sweater nails unless I was going to a salon. Some designs aren’t worth the at-home effort, and that’s one of them.
FAQs
What nail colors are best for November?
Warm neutrals, muted jewel tones, and earthy shades work best. Think chocolate brown, terracotta, olive green, plum, brick red, and mushroom taupe. Avoid bright orange and glossy black, which read as October.
Is it too early for Christmas nails in November?
It depends. Full red-and-green Christmas designs feel premature before Thanksgiving. But deep greens, cranberry tones, and metallics work well starting mid-November because they read as seasonal rather than holiday-specific.
How do I make my manicure last through Thanksgiving cooking?
Wear gloves for any cooking or dishwashing, apply a fresh top coat every few days, and avoid soaking your hands in hot water. If you’re using regular polish, a quick-dry top coat on day three makes a noticeable difference.
What’s the easiest November nail design to do at home?
Micro French tips in a warm neutral, or a cream base with copper dots. Both require minimal tools and skill. If you want zero drawing, use nail decals in autumn-themed designs.
Are press-on nails worth it for November?
Yes. Press-ons have improved significantly. A good set can last up to two weeks if you prep properly. Brands like Glamnetic and KISS both make neutral and warm-toned sets that work well for November.
What nail shape works best for November designs?
Short to medium-length round or square-round shapes work best. November designs are usually more understated, and shorter nails let the colors and finishes do the work without competing with length.
How do I stop my nails from drying out in November?
Use cuticle oil daily. I keep a bottle on my desk and apply it once in the morning and once before bed. It takes about thirty seconds and it’s the difference between healthy nails and peeling ones.